通过shadowsocks科学上网
 自己的工作需要使用谷歌邮箱等服务,加上照片通过谷歌照片备份,日常便捷的科学工具就很重要。之前也用过云梯(https://www.ytpub.com/)等基于pp2p和l2tp翻墙工具。基本使用还可以,只是经常会断开,尤其是移动网络连接失败率高,另外基于这些协议的vpn容易带宽不够,youtube高清视频基本没法正常观看。
后来发现shadowsocks这个协议不错,移动网络容易连接,带宽也比较大,当然你可以自己搭建shadowsocks服务器。不想麻烦的话也可以像我一样在https://shadowsocks.com.hk购买,购买可以使用我的邀请连接,双方都有优惠。购买后,在帮助中心有详细的教程,帮助大家在各平台使用shadowsocks,例如Android手机上可以使用影梭。Linux和Chromebook设置起来稍微复杂一点,这里简述我在Linux和Chromebook的设置方法。
在Linux上配置配置shadowsocks
购买shadowsocks后会得到如下链接配置信息:
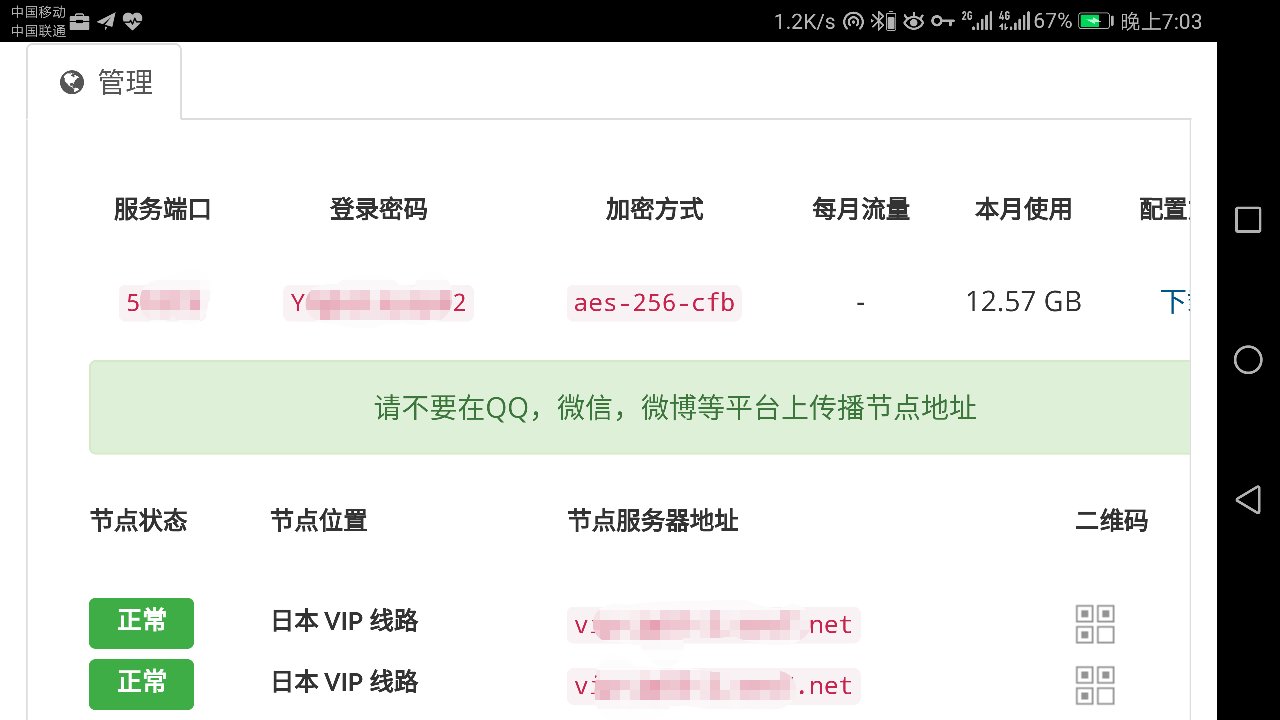
新建一个配置文件,例如”/root/ss/sslocal.json”,把上面”服务端口”填入server_port字段,选择合适的”节点服务器地址”填入”server”字段,填入密码即可。
root@iZwz9ddnvx1jmhxak0x32uZ:~# cat ss/sslocal.json
{
    "server": "vipxxxxxxxxxxxx.net",
    "server_port": 5xxxx,
    "local_address": "127.0.0.1",
    "local_port": 1080,
    "password": "Yxxxxxxxxxx2",
    "timeout": 300,
    "method": "aes-256-cfb",
    "fast_open": false
}
可以用如下脚本重启服务
root@iZwz9ddnvx1jmhxak0x32uZ:~# cat ss_restart
sslocal -c /root/ss/sslocal.json -d stop
nohup sslocal -c /root/ss/sslocal.json -d start --fast-open --pid-file /var/run/shadowsocks.pid --log-file /root/ss/ss.log
tail -f /root/ss/ss.log
使所有http访问都使用shadowsocks
通过上述设置,启动sslocal服务后,通过本地shadowsocks端口1080已经可以科学上网了。平时使用http或https的软件还需要做如下设置。下文以openSUSE Leap 42.1和Ubuntu 14.04为例说明。
Provixy是把socks5协议和http协议转发工具,下面我们把shadowsocks转发到http 1080端口.
- 安装privoxy
- 对于OpenSUSE:
zypper in privoxy - 对于Ubuntu:
apt install privoxy
- 对于OpenSUSE:
- 配置privoxy
编辑配置文件(/etc/privoxy/config),在”# forward localhost/ .”后面加入:
forward-socks5 / 127.0.0.1:1080 .在”listen-address [::1]:8118”后面加入:
listen-address  127.0.0.1:8228
listen-address  000.000.000.000:8228
其中监听本地(127.0.0.1)端口是为了本机其它软件使用shadowsocks代理,”000.000.000.000”要替换为本机的外网地址,便于其它设备通过本服务器上网。
- 启动privoxy
-
对于OpenSUSE或使用systemd的发行版:
> sudo systemctl enable privoxy.service > sudo systemctl status privoxy.service privoxy.service - Privoxy Web Proxy With Advanced Filtering Capabilities Loaded: loaded (/usr/lib/systemd/system/privoxy.service; enabled) Active: inactive (dead) > sudo systemctl start privoxy.service > sudo systemctl status privoxy.service privoxy.service - Privoxy Web Proxy With Advanced Filtering Capabilities Loaded: loaded (/usr/lib/systemd/system/privoxy.service; enabled) Active: active (running) since Mon 2016-02-29 10:50:32 CST; 1s ago Process: 9106 ExecStart=/usr/sbin/privoxy --chroot --pidfile /run/privoxy.pid --user privoxy /etc/config (code=exited, status=0/SUCCESS) Process: 9103 ExecStartPre=/usr/bin/cp -upf /lib64/libresolv.so.2 /lib64/libnss_dns.so.2 /var/lib/privoxy/lib64/ (code=exited, status=0/SUCCESS) Process: 9101 ExecStartPre=/usr/bin/cp -upf /etc/resolv.conf /etc/host.conf /etc/hosts /etc/localtime /var/lib/privoxy/etc/ (code=exited, status=0/SUCCESS) Main PID: 9108 (privoxy) CGroup: /system.slice/privoxy.service └─9108 /usr/sbin/privoxy --chroot --pidfile /run/privoxy.pid --user privoxy /etc/config -
对于Ubuntu或使用init.d的发行版:
:~/works/source$ sudo /etc/init.d/privoxy restart
 * Restarting filtering proxy server privoxy
   ...done.
:~/works/source$ sudo /etc/init.d/privoxy status
 * privoxy is running
-
-
设置本Linux系统proxy
在”/etc/profile”加入如下两行
export http_proxy=http://127.0.0.1:8228
export https_proxy=$http_proxy
重新登录后即可使用,例如测试google能否访问,能看到wget使用了127.0.0.1:8228访问google:
:~$ wget google.com --2017-05-26 19:34:32-- http://google.com/ Connecting to 127.0.0.1:8228... connected. Proxy request sent, awaiting response... 302 Found Location: http://www.google.co.id/?gws_rd=cr&ei=yBIoWZnhJ8TrvgT8xLDQDg [following] --2017-05-26 19:34:32-- http://www.google.co.id/?gws_rd=cr&ei=yBIoWZnhJ8TrvgT8xLDQDg Connecting to 127.0.0.1:8228... connected. Proxy request sent, awaiting response... 200 OK Length: unspecified [text/html] Saving to: ‘index.html’ [ <=> ] 11,771 --.-K/s in 0s 2017-05-26 19:34:33 (36.1 MB/s) - ‘index.html’ saved [11771] -
其它客户端通过上述Linux服务器科学上网
其它客户端(例如手机连接wifi时)可以通过设置proxy地址为上述Linux服务器外网地址,proxy端口为8228科学上网。
为Chromebook配置shadowsocks
这个话题估计比较小众,我把我博客原文贴过来,供大家参考:
Configure shadowsocks for ARM powered chromebook
Shadowsocks-chromeapp is a application of vpn client for chromebook. It is a nodejs application. If there is a nodejs environment(nodejs, npm, cake and so on, it may varies for different nodejs version)in chromebook, we could build and run it. But by default, there is no such environment in chromebook.
There are lots of articles describing how to use shadowsocks in a chromebook. But all of(most of?) these chromebooks are x86 processor inside. For arm based chromebook, one could not use the prebuilt binaries directly(bacause which depends on the binaries do not exists arm based chromebook). And one could not make use of the link of package in these articles too. So, it take me more time to eventually enable shadowsocks in my ASUS chromebook flip(C100PA-BD02).
For x86 chromebook, this one describe the two methods for enable shadowsocks.
Here is the application after we build successful:
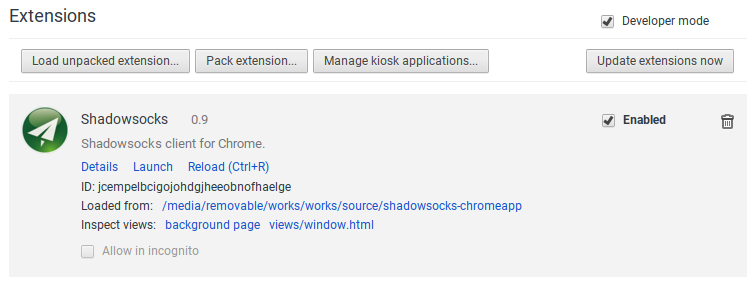
I do not plan to repeat the words above. Here is the specific step for what I am doing in my chromebook. What I need to do is setup the nodejs environment. For any distribution, we could install the nodejs and npm packages through the package manager. But for chromebook, we could not. We have to download and copy the library and binary to specific directory by hand. Luckily, the only dependency of nodejs is glibc.
We need to disable os verification and enable write permission. I paste the log of enable write permission.
-
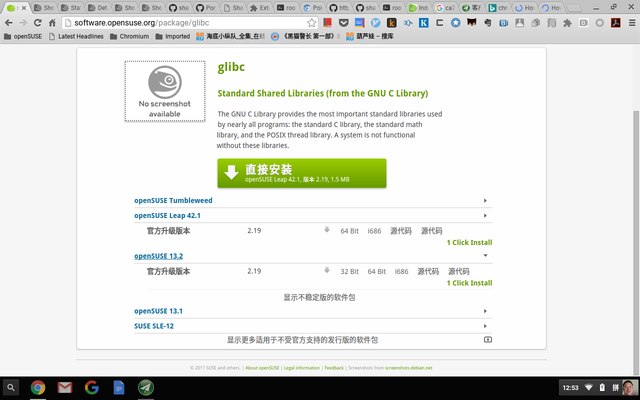
Check the version of glibc in order to determine which package we should download
There is a soft link point to the real version ld. In my case, it is glibc 2.19.
chronos@localhost / $ ls -l  /lib/ld*.so.*
lrwxrwxrwx 1 root root 10 Jun 10  2015 /lib/ld-linux-armhf.so.3 -> ld-2.19.so
glibc 2.19 is used in opensuse 13.2
-
Download nodejs and its dependency.
We could find out that there is no more dependence except glibc for nodejs:
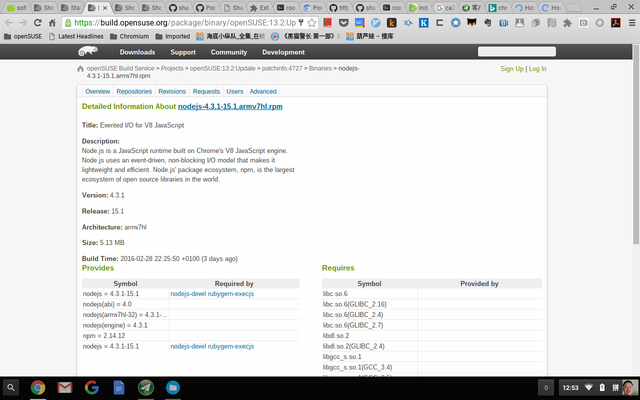
# wget http://download.opensuse.org/ports/update/13.2/armv7hl/nodejs-4.3.1-15.1.armv7hl.rpm [...] nodejs-3.3.1-15.1.armv7hl.rpm 100%[================================================================>] 5.13M 116KB/s in 58s -
Convert from rpm package to cpio image format, and extract it
# rpm2cpio nodejs-4.3.1-15.1.armv7hl.rpm > nodejs-4.3.1-15.1.armv7hl.cpio # mkdir nodejs # cd nodejs/ # cpio -iudm < ../nodejs-4.3.1-15.1.armv7hl.cpio xxx blocks -
Enable write permission for filesystem
Now, we have the nodejs bin and lib, we could copy them to the filesystem and build our application. But we need make fileystem writable before it. Otherwise we will encounter the following error message:
chronos@localhost ~/Downloads/nodejs $ cp -va usr/bin/* /usr/bin/ âusr/bin/nodeâ -> â/usr/bin/nodeâ cp: cannot create regular file â/usr/bin/nodeâ: Read-only file system âusr/bin/npmâ -> â/usr/bin/npmâ cp: cannot create symbolic link â/usr/bin/npmâ: Read-only file system$ sudo /usr/share/vboot/bin/make_dev_ssd.sh --remove_rootfs_verification ERROR: YOU ARE TRYING TO MODIFY THE LIVE SYSTEM IMAGE /dev/mmcblk0. The system may become unusable after that change, especially when you have some auto updates in progress. To make it safer, we suggest you to only change the partition you have booted with. To do that, re-execute this command as: sudo ./make_dev_ssd.sh --remove_rootfs_verification --partitions 2 If you are sure to modify other partition, please invoke the command again and explicitly assign only one target partition for each time (--partitions N ) ERROR: IMAGE /dev/mmcblk0 IS NOT MODIFIED. $ sudo /usr/share/vboot/bin/make_dev_ssd.sh --remove_rootfs_verification --partitions 2 ERROR: YOUR FIRMWARE WILL ONLY BOOT SIGNED IMAGES. Modifying the kernel or root filesystem will result in an unusable system. If you really want to make this change, allow the firmware to boot self-signed images by running: sudo crossystem dev_boot_signed_only=0 before re-executing this command. ERROR: IMAGE /dev/mmcblk0 IS NOT MODIFIED. $ sudo crossystem dev_boot_signed_only=0 $ sudo /usr/share/vboot/bin/make_dev_ssd.sh --remove_rootfs_verification --partitions 2 Kernel A: Disabled rootfs verification. Backup of Kernel A is stored in: /mnt/stateful_partition/backups/kernel_A_20160303_114351.bin Kernel A: Re-signed with developer keys successfully. Successfully re-signed 2 of 1 kernel(s) on device /dev/mmcblk0. $ -
Copy the nodejs files into system
sudo cp -a ./usr/lib/* /usr/lib/ sudo cp -a ./usr/bin/* /usr/bin/ -
Now, we could follow the this arcicle descrbie how to build shadowsocks-chromeapp. Here is the shadowsocks application for chromebook. Node and NPM on Chromebook (Chrome OS).
-
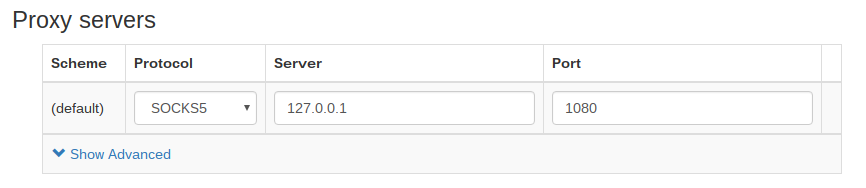
We could use the proxy through SwithyOmega:
参考链接
- shadowsocks简介
- 使用 Shadowsocks 自建翻墙服务器,实现全平台 100% 翻墙无障碍
- 本人的英文博客原文: How to use shadowsocks in PC and chromebook
赞赏